Chapter 3 · Build your form
The editor
The Formfacade Edit page maps every control: toolbars, AI editing, form settings (Header, Appearance, Advanced), configure fields, page order, and what happens after submit.
Quick Answer
How do I edit my form in Formfacade?
After importing, you land on the Edit page. It works like the Google Forms editor: add questions, titles, images, videos, or pages from the right-hand toolbar, and use the form toolbar to preview, add a banner, change the layout, or open Settings (Header, Appearance, Advanced). You can also edit the form in plain English with the AI button, and set what happens after submit: a default message, a custom message, or a redirect.
When you import a form, you land on the Edit page, your home base for structuring the form. It feels just like the Google Forms editor, with a few Formfacade extras: AI editing, banner images, layout controls, and redirect-on-submit. This page maps every control on it.
The Edit canvas at a glance
Two toolbars do most of the work: the form toolbar (on the form card) and the add toolbar (down the right edge). The round button in the bottom-left opens the AI editor.
Form toolbar: acts on the whole form.
| Icon | Control | What it does |
|---|---|---|
| 👁️ | Preview | See exactly how the live form looks; close with ✕ |
| 🖼️ | Banner image | Opens a file picker to upload a header banner |
| ▦ | Change layout | Jumps to Settings → Appearance to change layout & theme |
| ⚙️ | Advanced setting | Opens the settings panel (Header, Appearance, Advanced) |
Add toolbar: adds new blocks to the form.
| Icon | Adds |
|---|---|
| ➕ | A new question |
| T | A title & description block |
| 🖼️ | An image |
| ▶️ | A YouTube video |
| ▬ | A new page |
Editing a question
Click a question to edit it inline. Change its text, its options, or its type (Short answer, etc.), and toggle Required. Each question card also has quick actions: preview, duplicate, and delete.
For field-level control, open the question's ⚙️ Advanced setting, which has two tabs: Question and Answer.
Question: the title, a Mark this as required field checkbox, and optional Description, Placeholder, and Title image.
Answer: how the field behaves.
| Answer setting | What it does |
|---|---|
| Appearance | Editable, Read only, Office use, or Hidden. This is how you hide a field from respondents |
| Prefill | Show a default answer when the form loads |
| Calculate | Custom formulas. Type @ for form fields and = for functions (with Get help from AI) |
| Validation | Configure input rules for the answer |
Question settings explains each of these, with examples.
For branching and other advanced logic, use Launch (in the Advanced settings tab) to edit the underlying Google Form.
Edit with AI (beta)
The button in the bottom-left opens the AI editor. Describe what you want in plain English, like "add a Contact Details section and update the Name and Email fields", and Formfacade makes the change for you.
Beta feature
AI editing is in beta. You can use Revert at any time to undo its changes and go back.
Preview, banner & layout
The three left-most toolbar icons are quick actions:
- 👁️ Preview: opens a full preview of the live form. Close it with ✕.
- 🖼️ Banner image: opens your file browser to upload a banner.
- ▦ Change layout: jumps straight to Settings → Appearance, where you pick a layout and theme, then click Save.
Form settings (the ⚙️ panel)
The ⚙️ Advanced setting icon opens a panel with three tabs.
Header
Edit the form's Title and Description (a rich-text editor with bold, italic, strikethrough, links, lists, images, tables, quotes, and field mentions), and add a Banner.
Appearance
Choose a Layout Style (Compact, Comfortable, or Default) and set the theme (colors and fonts). This is the same panel the Change layout button opens.
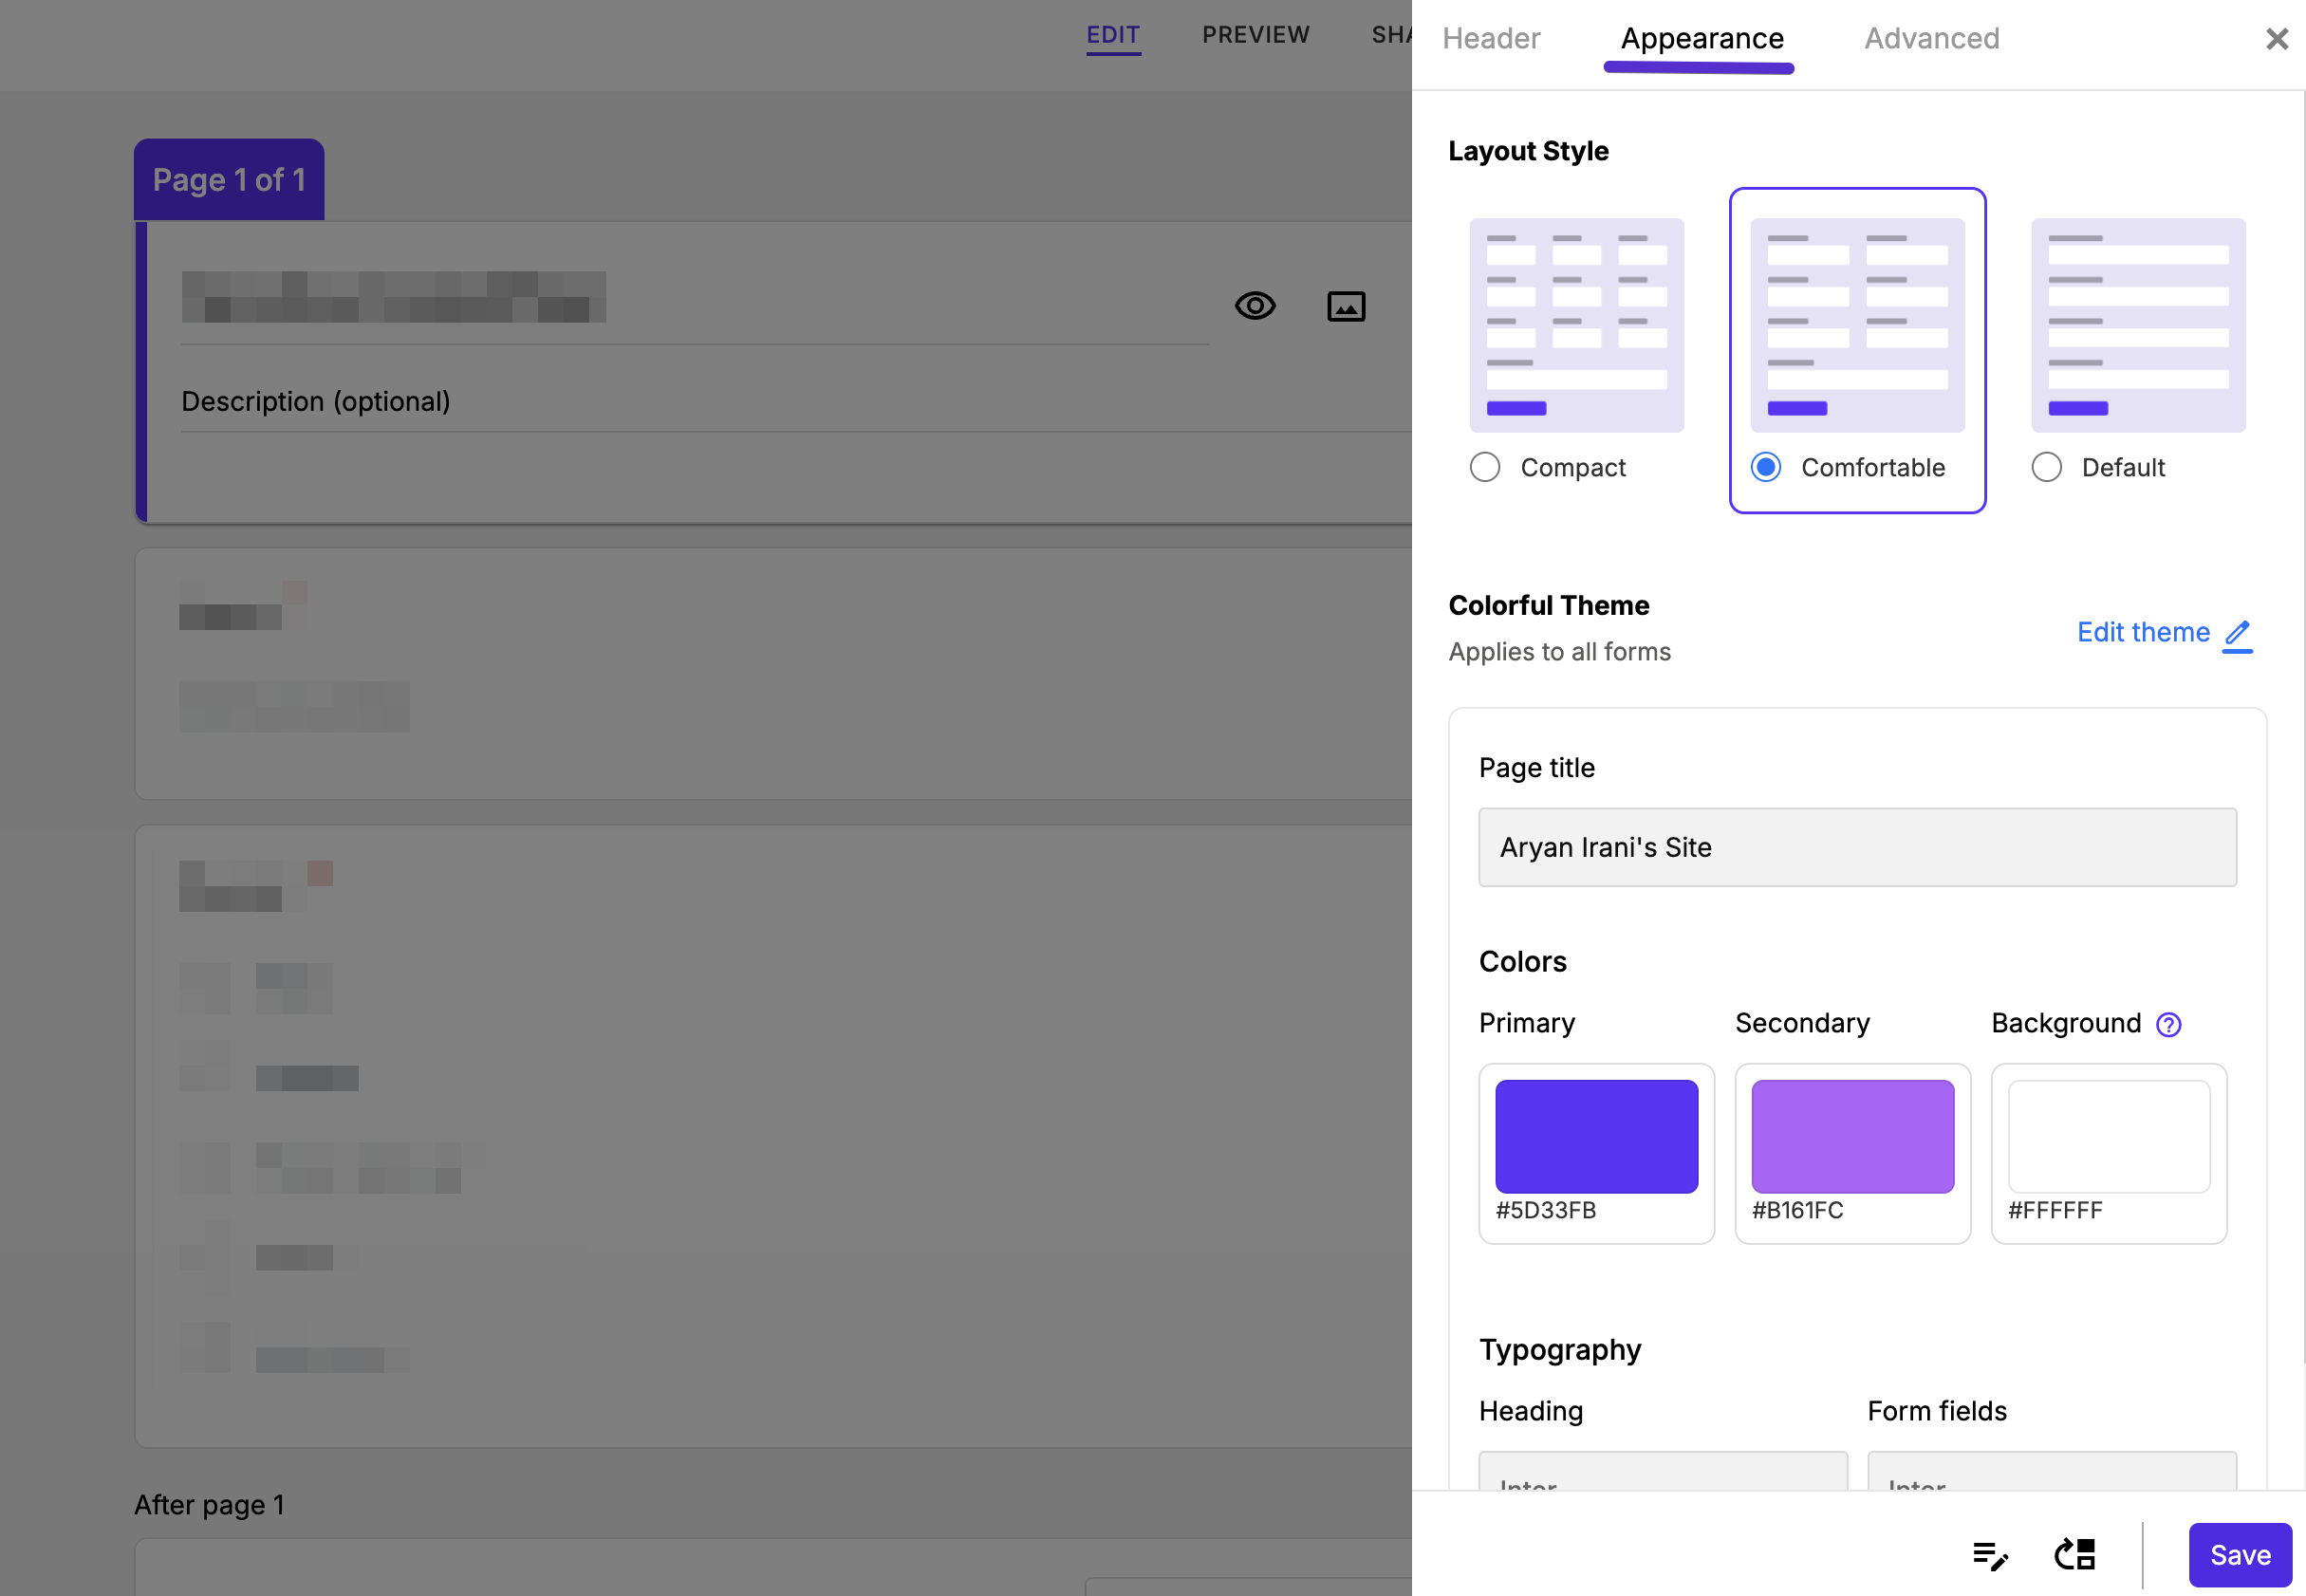
Tip
All theming (Minimal vs Colorful, presets, colors, fonts) is documented in one place: Design.
Advanced
Controls for the underlying form and its behavior:
| Setting | What it does |
|---|---|
| Edit this form with Google Forms → Launch | Opens the underlying Google Form to edit questions in Google Forms |
| Locale | Sets the form's language |
| Close this form | Stops the form from accepting responses |
| Show progress bar | Shows respondents how far through the form they are |
| Submit to Google Forms | Forwards responses into the Google Form. See Google Forms and Sheets |
| Custom CSS | Add your own CSS to style individual form elements (e.g. .ff-form, .ff-form input) |
Configure key fields
The Configure key fields button (at the bottom of the settings panel, or next to After page 1 below your questions) opens a panel with two tabs that tell Formfacade how to identify and summarize each response:
- Respondent: Get name from, plus optional Email, Phone, and Customer id fields, and Ask users to login at this page.
- Notes: optional Subject, Details, Attachments, and Line 1–3.
These mappings power the Responses board, reports, and email notifications, so each response shows a name, subject, and details instead of raw answers.
Rearrange pages
For multi-page forms, the Rearrange pages button lists your pages so you can drag them into a new order.
After submit: message & redirect
Scroll to the bottom to the Submit block. The dropdown controls what respondents see after they submit:
| Option | Result |
|---|---|
| Default message | Google Forms' standard "Your response has been recorded." |
| Custom message | Your own thank-you message (with alignment and font size) |
| Redirect to webpage | Send respondents to any URL after they submit |
The Submit setting icon (⚙️, next to After page 1) exposes the same choices in a panel with two tabs. Button sets the Caption and Language; On submit sets the confirmation behavior plus message alignment and font size.
After submit covers the message, redirects, and the button's text and language.
Prefer a visual editor?
Below the submit block, Prefer a WYSIWYG editor? offers a Switch to a what-you-see-is-what-you-get editing mode.
Next steps
- Hide, lock, or calculate answers: Question settings.
- Style and brand your form in Design.
- Share or embed it from Share your form.